You may print effectively from a variety of devices by following the easy Xerox Printer Setup instructions. Unpacking the printer, installing drivers, and setting up the network are all part of the Xerox Printer wifi setup process, regardless of whether you’re connected to a computer directly, via a wired network, or via Wi-Fi. System settings or official Xerox software may be used to configure printers for both Mac and Windows users. This tutorial ensures a seamless and trouble-free installation procedure by covering everything from network and Mac setup to Xerox Printer Wi-Fi configuration.
1. Getting Your Xerox Printer Setup Ready
Unboxing
Make sure you have everything you need before beginning to set up the Xerox printer:
- Xerox printer
- The USB
- power cord
- Cartridges for ink or toner (if not already installed)
- Test printing paper
before proceeding for Xerox Printer Setup these Actions must be taken:
- The printer should be carefully taken out of the box.
- Take off all package materials and protective tapes.
- To verify if toner or ink cartridges are installed, open the printer panel.
- If not, follow the user manual’s instructions to install them.
- Paper is loaded into the tray.
- Subsequently beavering in the power string, switch on the printer.
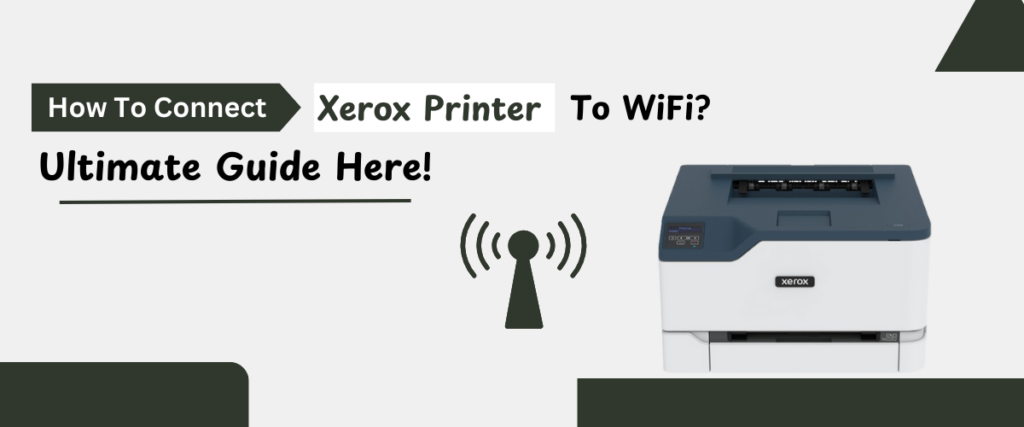
2. Configuring the Xerox Printer Wi-Fi
Without the need for cords, wireless printing permits you to print from any location in your house or place of business. To configure Xerox Printer Setup wifi, follow these steps:
Method 1: use the printer control panel.
- Make sure the printer is in ready mode before turning it on.
- Click the Settings or Menu button.
- Go to Xerox Printer wifi setup under Network Settings.
- Subsequently choosing Wireless Setup Wizard, let the printer look for networks that are reachable.
- Pass in WiFi keyword after picking your network from the list.
- To validate the connection, press OK.
- At this point, the printer will try to connect. A confirmation message will show up on the screen after the connection.
Method 2: Making use of the Xerox Smart Start program
Xerox Smart Start is an option if you would rather have a guided Xerox Printer Setup:
- Visit the official Xerox website to download and install Xerox Smart Start.
- After launching the program, choose Wireless Setup.
- To connect your printer to Wi-Fi, follow the on-screen directions.
- To authenticate the connection, print a test page after finishing.
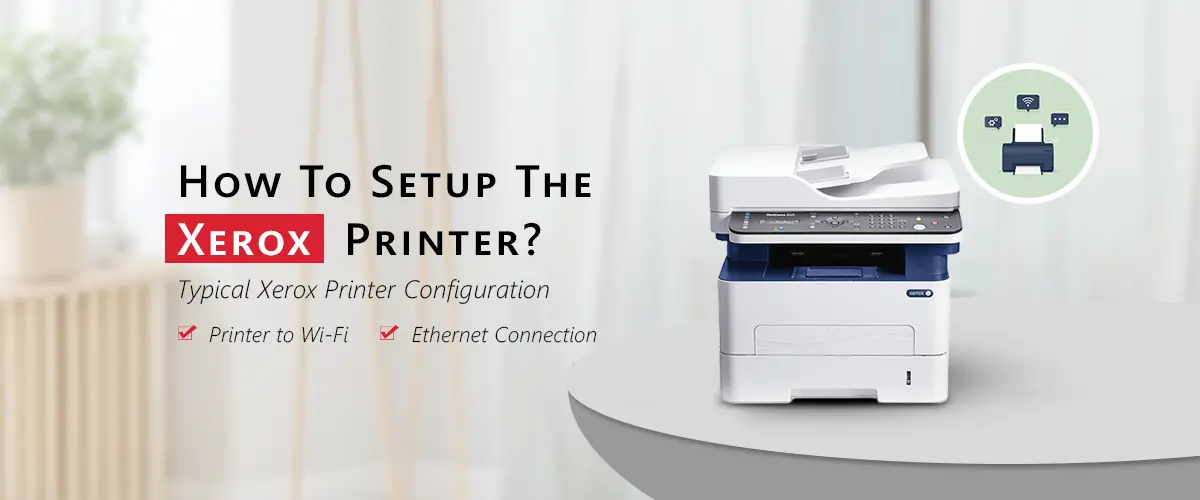
3. Xerox Printer setup for network (Ethernet Connection)
Stable and secure printing for workplace usage is ensured by connecting your Xerox printer to a wired network. Here’s how to accomplish it:
- Ascribe the printer to one end of an Ethernet and your router or network switch to the supplementary end.
- Go to the Xerox Printer setup for network Settings on the printer control panel.
- Make sure the printer recognizes the network by selecting Wired LAN Setup.
- Enter the network credentials when requested.
- Verify the connection, then print a sample page.
4: Mac Xerox Printer Configuration
Using the built-in macOS settings or Xerox drivers, Mac users may quickly set up their Xerox printer. Take these actions for Xerox Printer setup mac:
Method 1: AirPrinting (No Drivers Needed)
- Make that your Mac and the printer are linked to the same Wi-Fi network.
- Go to Printers & Scanners under System Preferences.
- To add a new printer, click Add.
- From the list, pick your Xerox printer.
- As the driver, choose AirPrint.
- In order to finish the configuration, click Add.
Method 2: Using Xerox printer drivers.
- Install the official Xerox drivers if you require advanced printing features:
- Visit the Xerox Support Website to get the most recent Mac drivers.
- Trail the instructions to install the drivers.
- Go to Printers & Scanners under System Preferences.
- Click +, then pick Xerox Drivers after selecting your printer.
- Your printer is now configured on your Mac when you click Add.
5. Xerox Printer Installation on Windows
To install the printer on a Windows PC, take the following actions:
- Go to Devices > Printers & Scanners under Settings.
- After selecting Add a Printer, watch for your Xerox printer to show up.
- Click Add Device after selecting the printer.
- Download and install the necessary drivers when requested.
- To verify the configuration, print a test page.
6. Configuring Mobile Printing (Selective)
Use AirPrint (iOS) or the Xerox Print Service Plugin (Android) to print from your mobile device:
- Android users may print straight from their phones by installing the Xerox Print Service Plugin from the Play Store and turning it on in the settings.
- Regarding the iPhone and iPad: When printing from programs like Notes, Mail, or Safari, just choose AirPrint.
Solving Typical Xerox Printer Configuration Problems
Here are some typical troubleshooting techniques in case you encounter any problems setting up your Xerox printer:
1. The printer is unable to connect to WiFi
- Make sure the router and printer are in close proximity to one another.
- Turn your printer and router back on.
- Verify that the Wi-Fi password is accurate.
- Use the Xerox website to update the printer’s firmware.
2. Mac Printer Not Detected
- Make sure the same Wi-Fi network is used by your printer.
- If drivers are not working, try using AirPrint.
- Restart your printer and Mac.
3. Network Printing Is Not Possible
- Authenticate whether the printer is being jammed by the network firewall.
- Verify that the print menu has the right printer chosen.
- Re-join the printer after resetting network settings.
Final thoughts
If you follow the right procedures, Xerox Printer Setup is simple. This article includes everything you need to know whether you’re installing a Xerox printer on a Mac, setting up Wi-Fi, or connecting to a network. For more support, visit our website or refer to the troubleshooting section if you encounter any glitches.
FAQs
How do I find the WiFi settings on my Xerox printer?
Go to the Control Panel and choose Menu > Network Settings > Xerox Printer wifi setup to view your Xerox printer’s Wi-Fi settings. Selecting Wireless Setup Wizard will show you the networks that are available. After choosing your network and entering your Wi-Fi password, make sure the connection is stable. After connecting, a confirmation message will show up.
How do I find my Xerox printer’s IP address?
By printing a Configuration Page from printer menu, you may regulate the IP address of your Xerox printer. As an alternative, go to the control panel’s Menu > Network Settings > TCP/IP. Verify the IP address under Printer Properties > Ports if the device is linked to a computer. Network configuration and troubleshooting are aided by the IP address.
Why is my Xerox printer not showing on the network?
Make sure your Xerox printer is turned on and connected correctly if it isn’t visible on the network. Check network cords (if you have wired connections), restart your router and printer, and make sure your Wi-Fi settings are right. In order to fix compatibility difficulties, you need also update the firmware on your printer and disable any firewalls that could be preventing the connection.
How do I configure a Xerox printer for wired Ethernet connection?
Connect an Ethernet connection from the Xerox printer to your network switch or router to configure it for wired Ethernet. To enable the wired connection, navigate to Menu > Network Settings > Wired LAN Setup on the Control Panel of the printer. For automated IP assignment, make sure DHCP is turned on, or set up a static IP if required.
How do I install Xerox printer drivers on macOS?
Download the most recent Xerox printer drivers for your model from the Xerox Support Website in order to install them on macOS. Click +, choose your printer, and then open System Preferences > Printers & Scanners. For more sophisticated functionality, select Xerox Drivers rather than AirPrint, and then click Add to finish the installation.